Cinco de Mayo Piñata
 By Levis4Floors | April 27, 2017
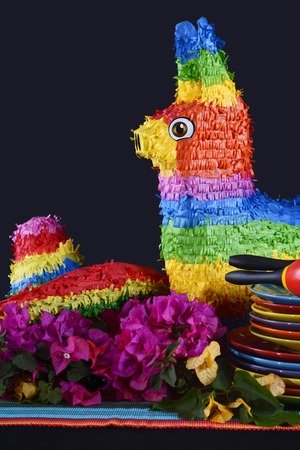

Cinco de Mayo is a holiday filled with heritage, bright colors, parades, and excitement. The fifth brings various festivities and traditions along with it. A common tradition is creating a piñata for the festivities and we have an easy DIY piñata for you to make this year.
Supplies:
- Cardboard Box
- Piece of Chalk
- Box cutter
- Toilet Paper Roll’s Tube
- Glue
- Rope
- Candy
- Tape
- Wrapping Paper
- Scissors
How to create a piñata:
Preparation: Choose a character to make in piñata form. You can create a donkey piñata or one of your favorite animals.
Step One. Take a cardboard box and cut off the four folding flaps (set aside for later). Cut two identical sized rectangular pieces out of the cardboard box.
Step Two. Cut out the character you just sketched with a box cutter. Attach with masking tape onto the second piece of cardboard and cut around the character’s shape. In doing so, you will have two identical cut-outs of the character. Gently pull the two pieces apart and remove the masking tape that you just used.
Step Three. To connect the two cardboard pieces you will use a toilet paper tube. Lie down your first character cutout and place a toilet paper tube standing upright in the center of the character and adhere with glue. Pick up the other side of the cut-out and line it up directly with the other shape and adhere it to the toilet paper tube with glue. Ideally, the tubes will be holding together the two sides of cardboard that form your character. Wait approximately fifteen to twenty minutes for the glue to dry.
Step Four. Pick up the four folding flaps that we previously removed from the cardboard box. We are going to use these for the space left between piñata character. Measure how much space is between the two sides (approximately 5 – 6 inches) and cut the flaps accordingly. After you have cut and measured the folding flaps, you will place them between the sides of the piñata and lock it down with masking tape.
Step Five. Leave a small section open at the top of the piñata to attach the rope and fill with your items. Loop your rope underneath the flap of the section left open and you will have two ends of the rope sticking out. Tie the two ends together.
Step Six. Fill your piñata and tape the opening closed.
Step Seven. Cover your piñata with wrapping paper. Start from the bottom and work your way to the top of your piñata. Trim any straggling pieces with scissors.
Now that your piñata is complete, you can fill it with whatever you desire. Some people fill it with candy and others fill it fun items like toys or plastic jewelry. Grab a bat and get swinging! This is an activity for all ages.